THE RESTORATION STORY · CHAPTER 01
A sacred space.
A careful beginning.
Before the ceiling can be restored, everything below it deserves care. Follow the first week, from protecting the pews to the first look above the plaster.
THE FIRST FIVE DAYS
Sanctuary, week one.
Monday · DAY 1
Mobilize & Protect
Phase 01 — Interior protection begins
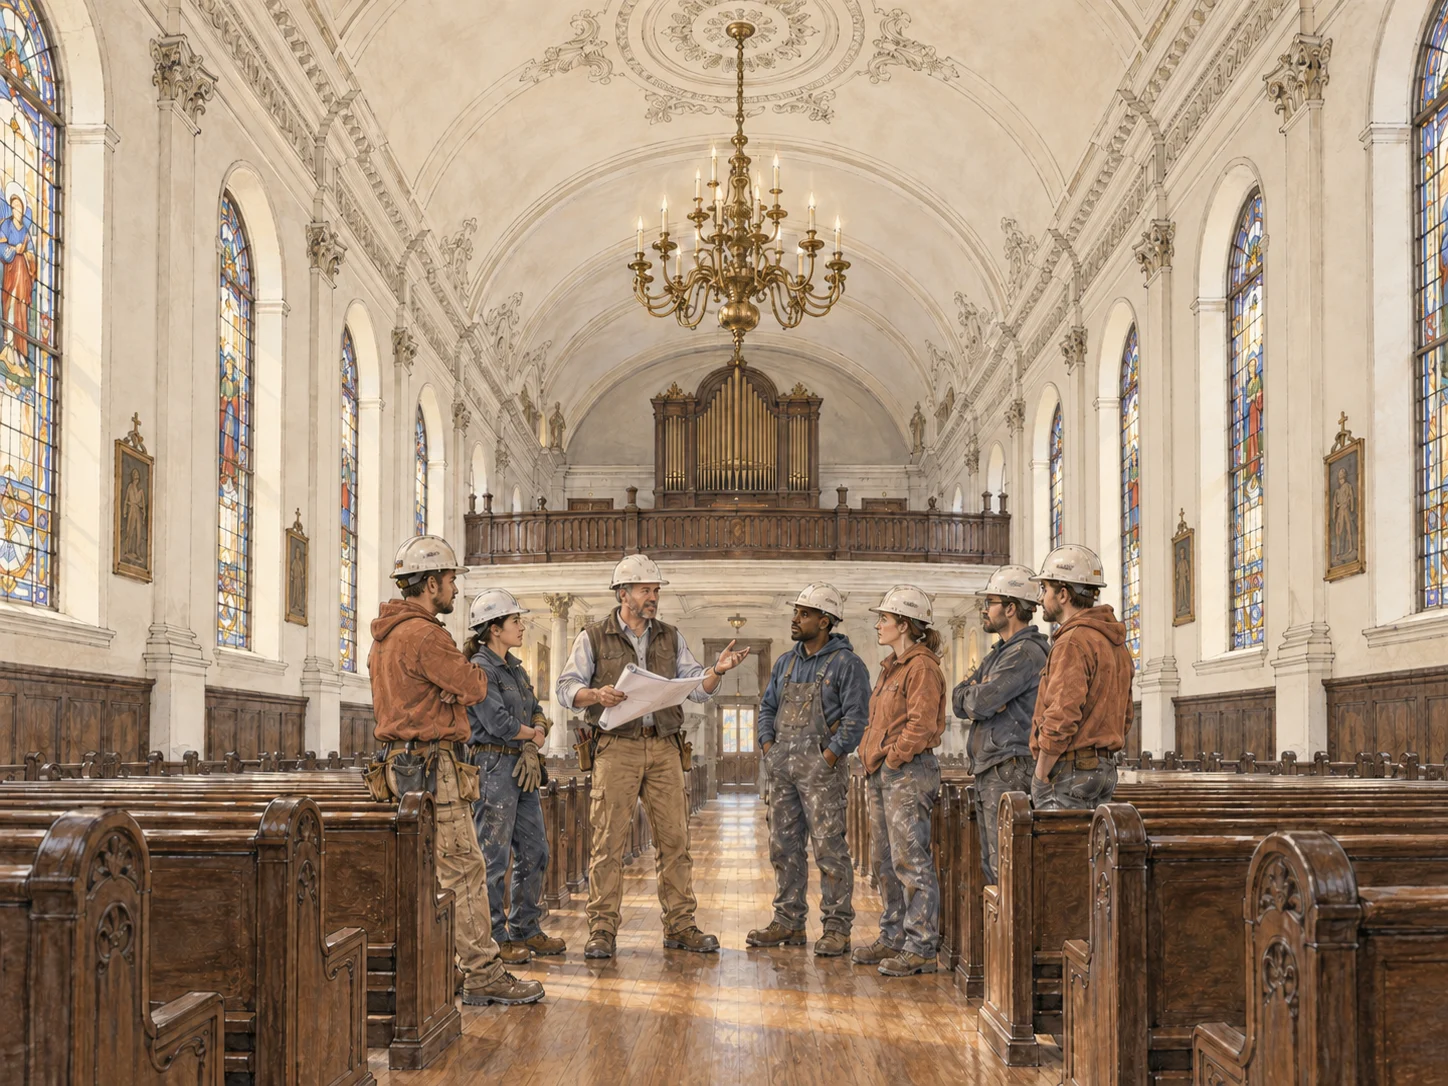
The morning walkthrough
The foreman brings the six-person crew together to review the sequence, access, and protection of the sanctuary’s historic finishes.
Materials roll in
Protection stock comes through the sanctuary doors all morning — padded blankets, floor board, plastic sheeting, tape, and the first crates of supplies.
Wrapping the pews
Row by row, the landmark pews disappear under padded covers. Each one is wrapped, tucked, and taped — main floor first.
Protecting the floors
Protection board covers the aisles and planned access routes. The crew secures the seams and keeps walking paths clear.
Protecting the stained glass
The crew prepares protective sheeting and padded surrounds for the stained-glass windows, using access appropriate to each location.
Confirm the condition record, protected finishes, and clear access routes before moving to overhead work.
Tuesday · DAY 2
Power Down & Precious Things
Phases 01–02 — Protection wraps up; electrical disconnect
The balcony gets the same care
The crew works the balcony level — pews wrapped, rail padded — so both floors are fully protected before anything above them moves.
Isolate & verify
The licensed electrician isolates the affected lighting circuits, applies lockout controls, and verifies the work area before removal proceeds.
Every detail on camera
Before anything comes down, the medallion, vent surrounds, and chandelier are photographed and measured from every angle — the record the rebuild will be matched against.
Lowering the centerpiece
Following the agreed lifting plan, the chandelier is supported and carefully lowered to a padded receiving area for inspection and storage.
Crated with care
Removed fixtures and decorative components are documented, padded, labeled, and crated. Each item keeps its identity for later reinstatement.
Verify isolation, removal arrangements, and the inventory of stored components before scaffold work proceeds.
Wednesday · DAY 3
The Scaffold Takes Shape
Phase 03 — Scaffold platform erection begins
The scaffold arrives
Frames, braces, and planks stage in the aisle — the raw parts of a 4,900-square-foot platform, stacked and counted.
A careful foundation
Sills and base plates sit on the protected floor between the wrapped pews. Locations and support are checked against the scaffold plan.
First scaffold bays
The first lift of tubular scaffold frames goes vertical. Two builders work opposite ends, connecting cross-braces as the first bays take shape.
Building the next scaffold lift
Lightweight tubular scaffold frames and cross-braces are passed up and fitted to the first lift, continuing the same scaffold upward.
The day’s inspection
The scaffold crew reviews alignment, connections, bracing, and incomplete areas. Access stays restricted until the appropriate inspection and release.
Keep incomplete scaffold areas restricted. Confirm the next lift with the scaffold team.
Thursday · DAY 4
The Platform Tops Out
Phase 03 — Scaffold reaches ceiling height
Continuing scaffold erection
The crew continues the connected tubular scaffold across the sanctuary’s full length and width, adding lifts until its top reaches ceiling working height.
Decking the dance floor
Temporary flooring is laid across the top of the scaffold to form the “dance floor” — one continuous work platform spanning the sanctuary’s full length and width, with access to the entire ceiling.
Protecting the edges
Guardrails, midrails, and toe boards are installed around the working deck. Openings and access points are checked before use.
The scaffold stair tower
A temporary stair tower assembled from scaffold components gives the crew access from the sanctuary floor to the dance-floor work platform.
Inspection before access
The designated competent person inspects the full-room scaffold and the continuous dance-floor deck above it. The platform opens for work only after required checks and release.
Complete the required scaffold inspection before the deck is released for use.
Friday · DAY 5
At the Ceiling
Phase 04 prep — Demolition setup and the first look inside
A floor in the sky
The planned 4,900-square-foot dance floor spans the full length and width of the sanctuary on top of the scaffold, bringing the crew within working reach of the entire ceiling.
Lights & temporary power
Temporary lighting and protected power supplies prepare the deck for work, with installation and checks coordinated by the electrician.
A controlled route for debris
A sectional chute at the edge of the scaffold-supported dance floor leads down to a covered receiving container, providing a controlled route for debris.
Ready for the next stage
Containment and appropriate protective equipment are prepared. Intrusive work stays on hold until material results and required clearances are reviewed.
First look inside the attic
Once material clearance and approval are in place, the crew investigates the framing above from the continuous dance-floor platform. The findings inform the repair scope for week two.
Review test results and authorize the investigation before any intrusive ceiling work.
THE NEXT CHAPTER
Understand what’s above.
Then plan what comes next.
Week one creates access and protects the sanctuary. What the investigation reveals will shape the repair scope and the sequence for week two.